

Remember kombucha? That nasty, vinegary drink you always mistook for apple juice growing up. Or was that just my experience?
My mom made this probiotic-dense tea for my dad for ages and I never liked it till just a few years ago. Yay for late-blooming taste buds! Also, the addition of fruit flavors made my experience much brighter – Dad liked it plain best so that's the only kind I knew for a long time.
Turns out my hubby's a huge fan as well. And after months of him "suggesting" I try making it from home, I finally did it! (wife points)
Now, before I go on to give some tips and share pictures from my first fermentation, I'd like to thank a couple people:
1. My dear friend Charissa for kindly sharing (giving) me one of her precious Scoby Mamas she harvested. I couldn't have begun this bucha journey without you! Thanks a million!
and
2. Someone I don't personally know, but am thrilled to learn and glean helpful information from, Katie of wellnessmama.com. Thanks for sharing your kombucha recipe with the world! It was easy to follow and made me feel very comfortable as a first time bucha maker.
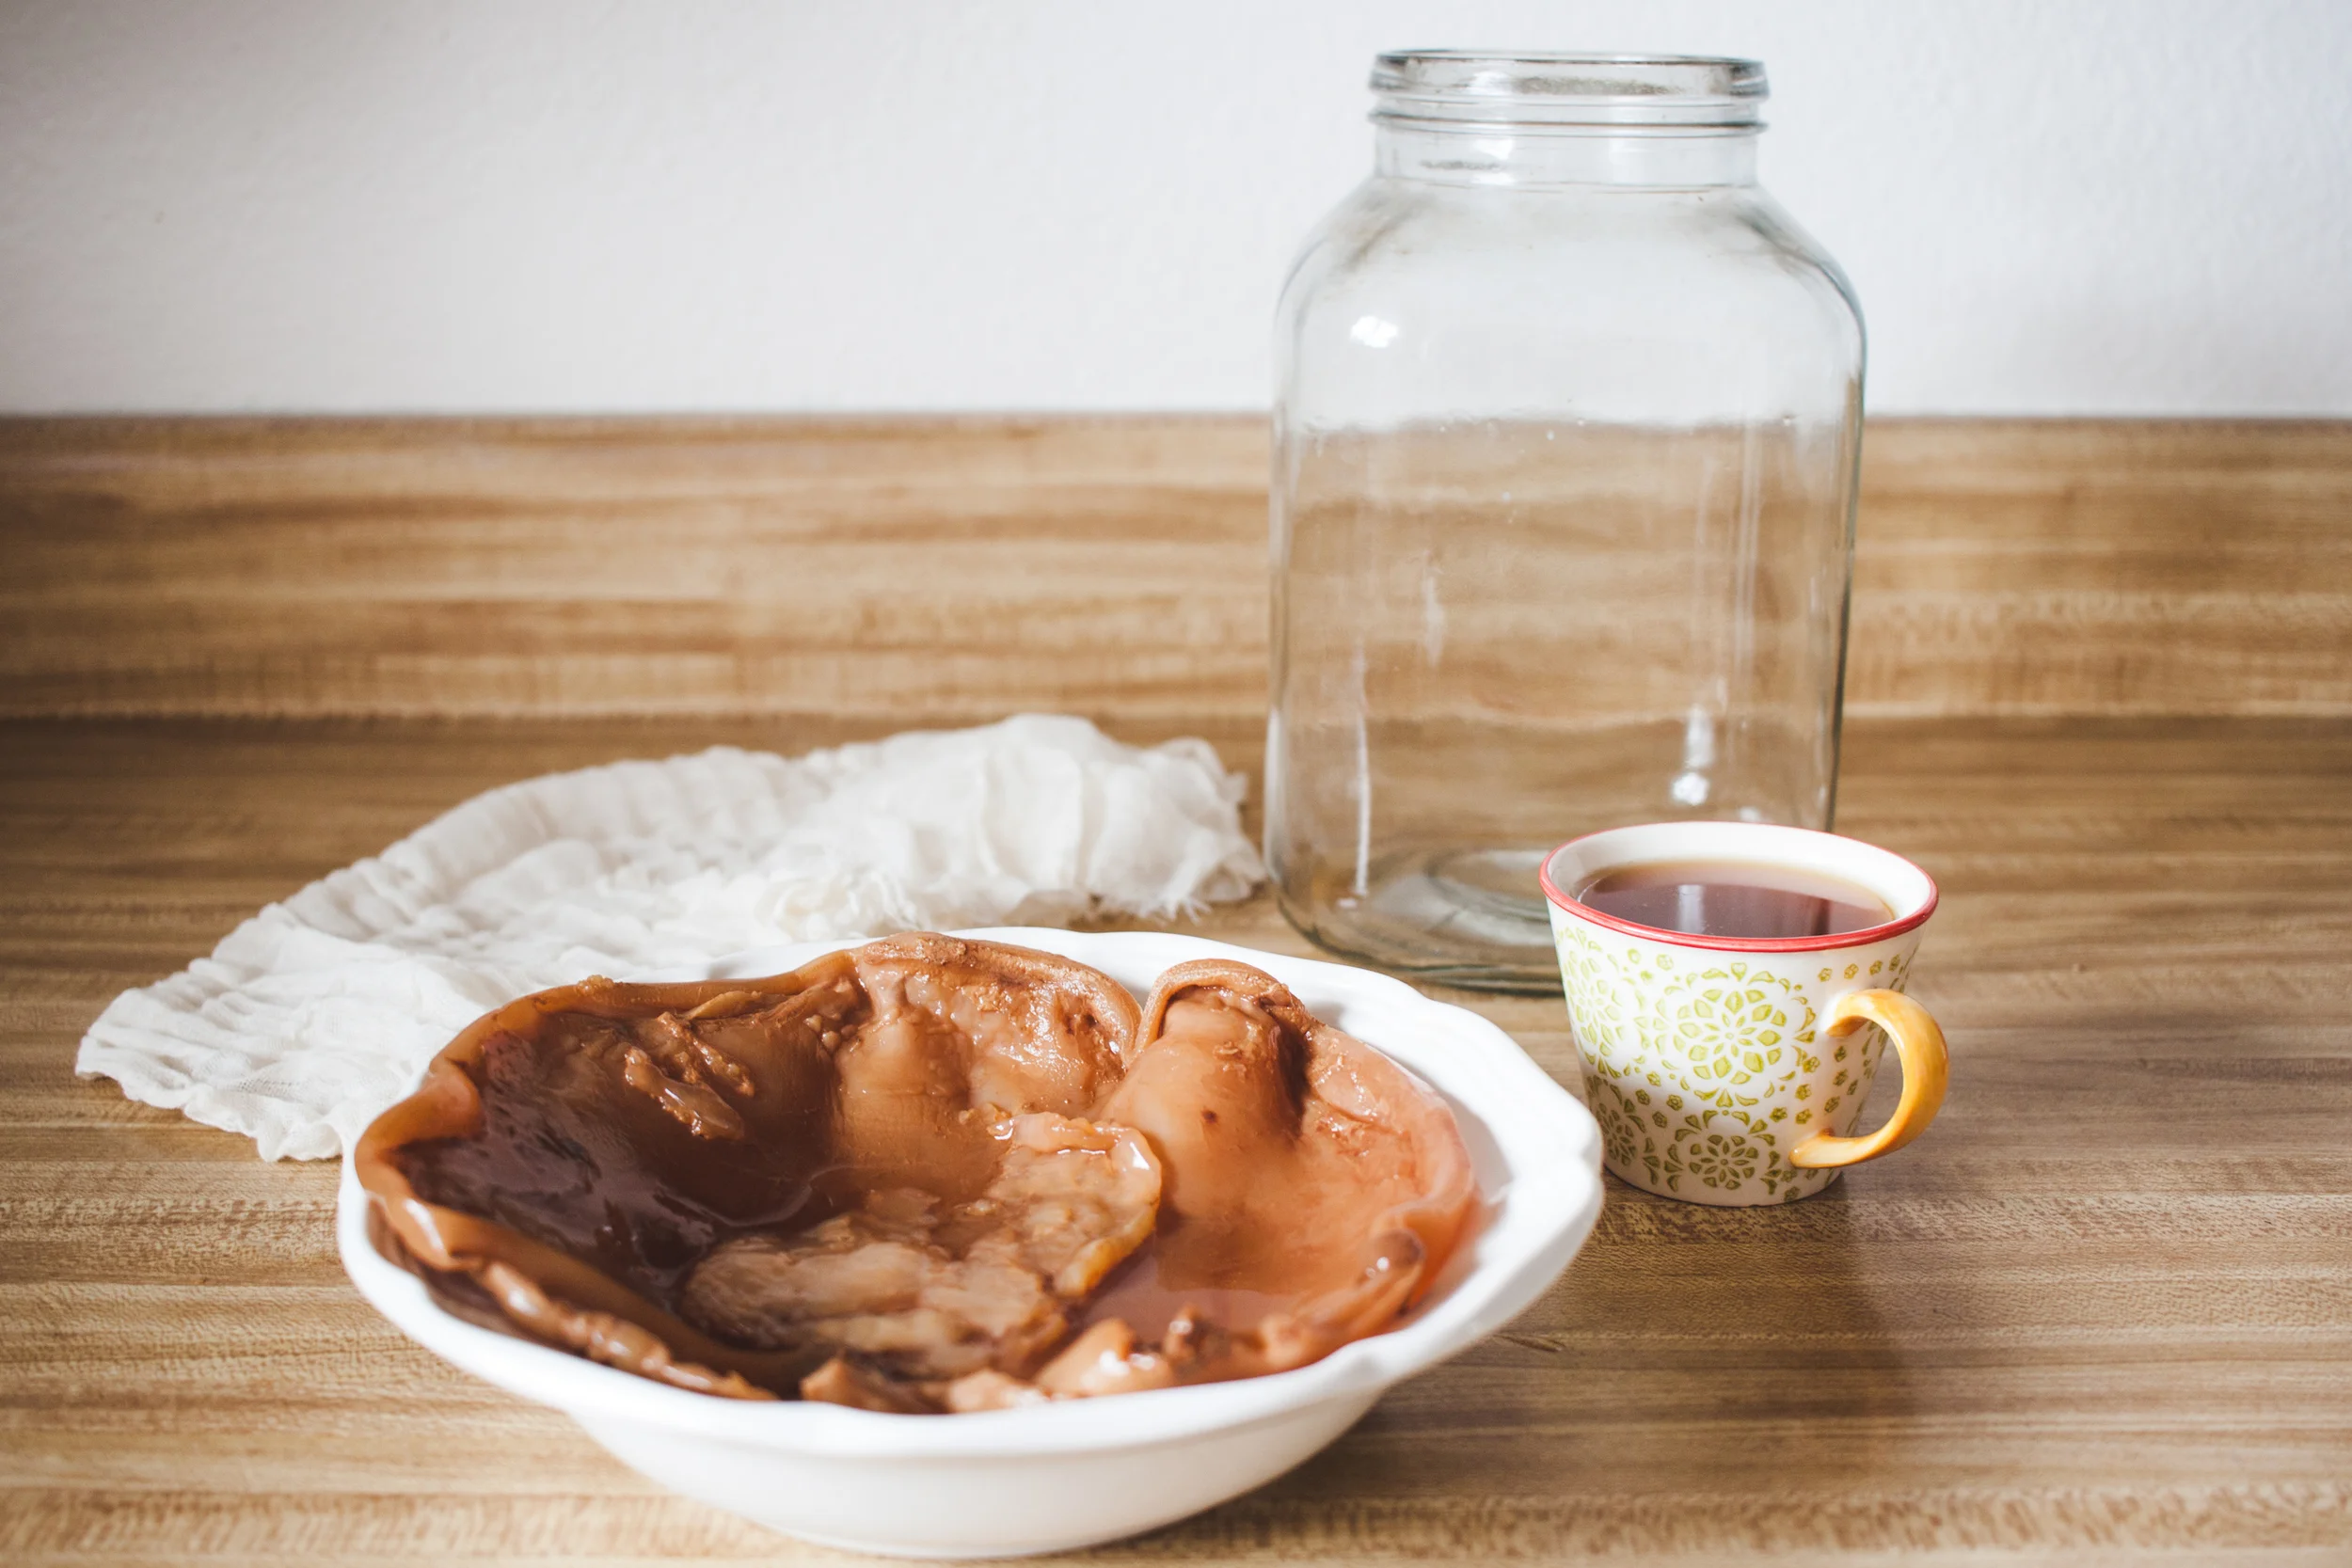
Now on to the basics and when I say "basic", I mean BASIC! Making kombucha is so much easier than I expected. (I hope it comes out tasting better than I expected too!)
First things first – get your hands on a scoby! Either contact a friend who you know has been brewing kombucha tea for a while – there's a strong chance they will have an extra mother on hand, OR, purchase one online. I always buy on Amazon (fast delivery and free shipping). Here's a link to their #1 organic best seller.
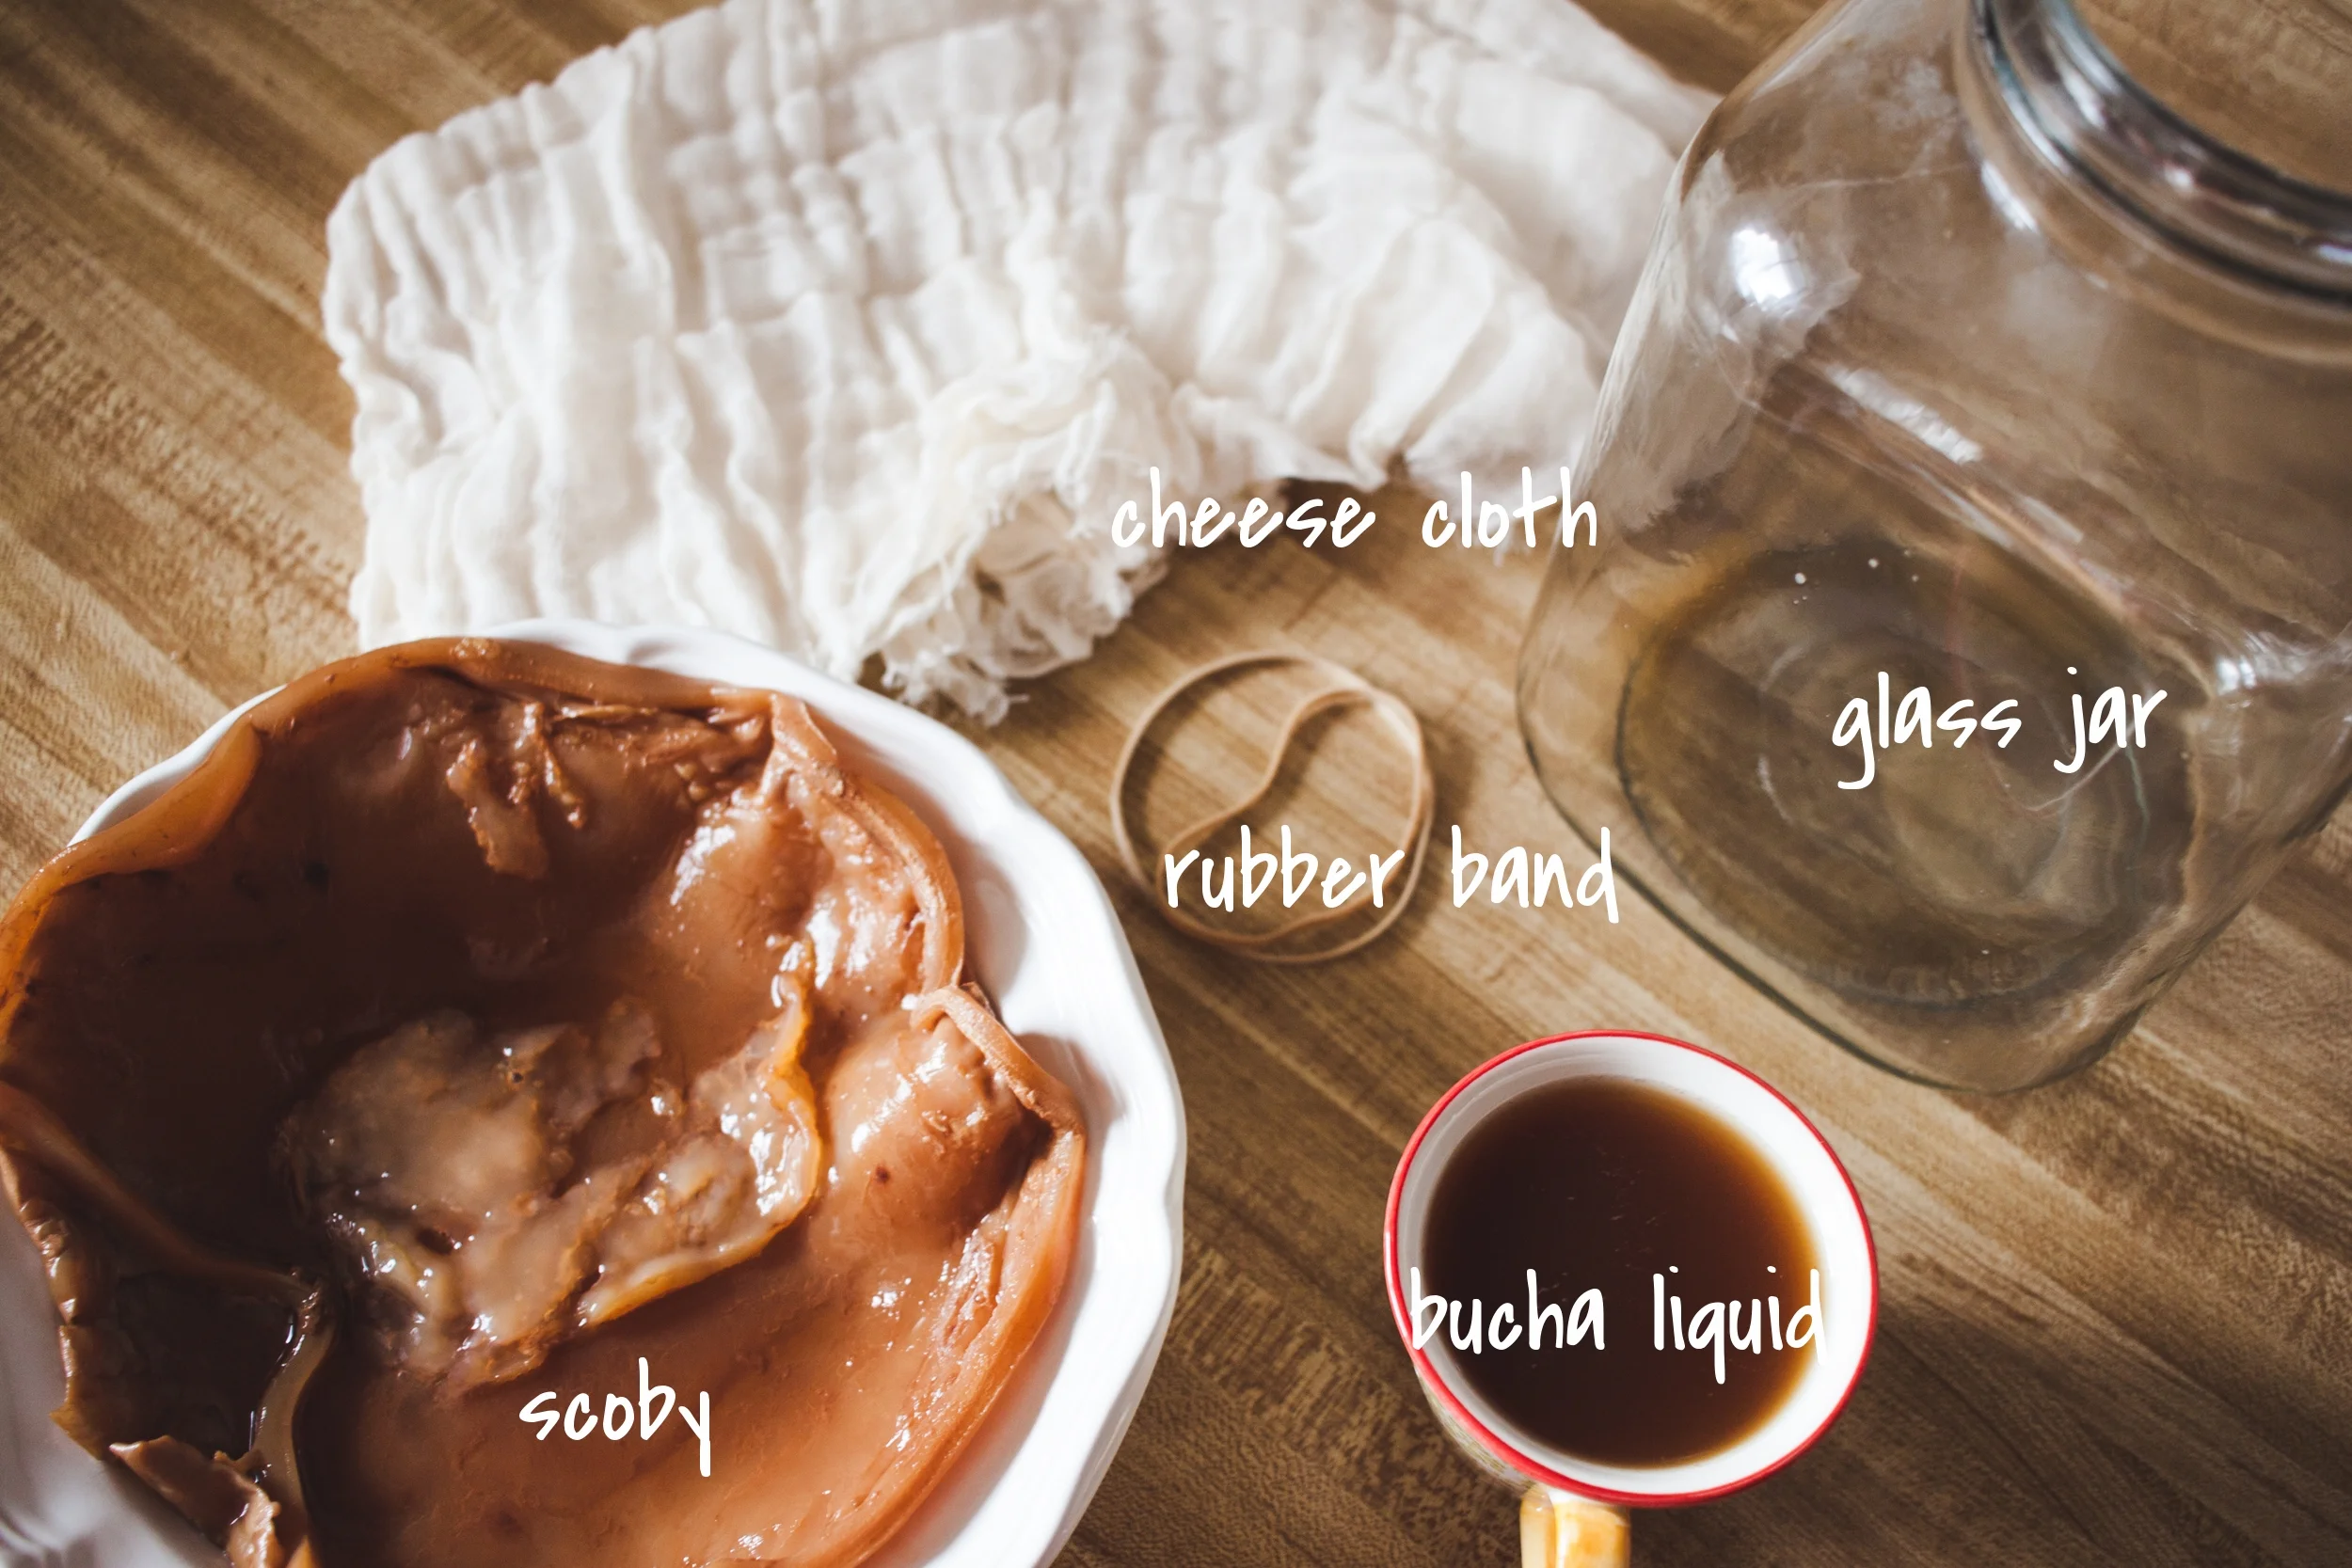
You'll Need:
- 1 gallon sized glass container
- cheese cloth
- rubber band
- 1 scoby mother
- 1/2 cup liquid from a prior batch of kombucha
- 1 gallon water
- 8 bags black tea (or 4 green + 4 black depending on flavor preference)
- 1 cup sugar
For a second fermentation you will also need:
- funnel
- 6 - 16 oz air-tight glass bottles
- fruit/fruit juice
Directions:
- Bring water to a boil
- Add bags of tea
- Steep for 5 min or longer if using herbal tea
- Stir in sugar (organic preferably). Do not use a sugar substitute!
- Let tea cool to room temperature and make sure it is really cool! This step is very important as too hot of tea can kill your scoby.
On the other hand, do not add cold (refrigerated) tea either. It must be room temperature. - Pour tea into glass jar, leaving about an inch of room at the top.
- Add ½ cup liquid from a previous batch of kombucha
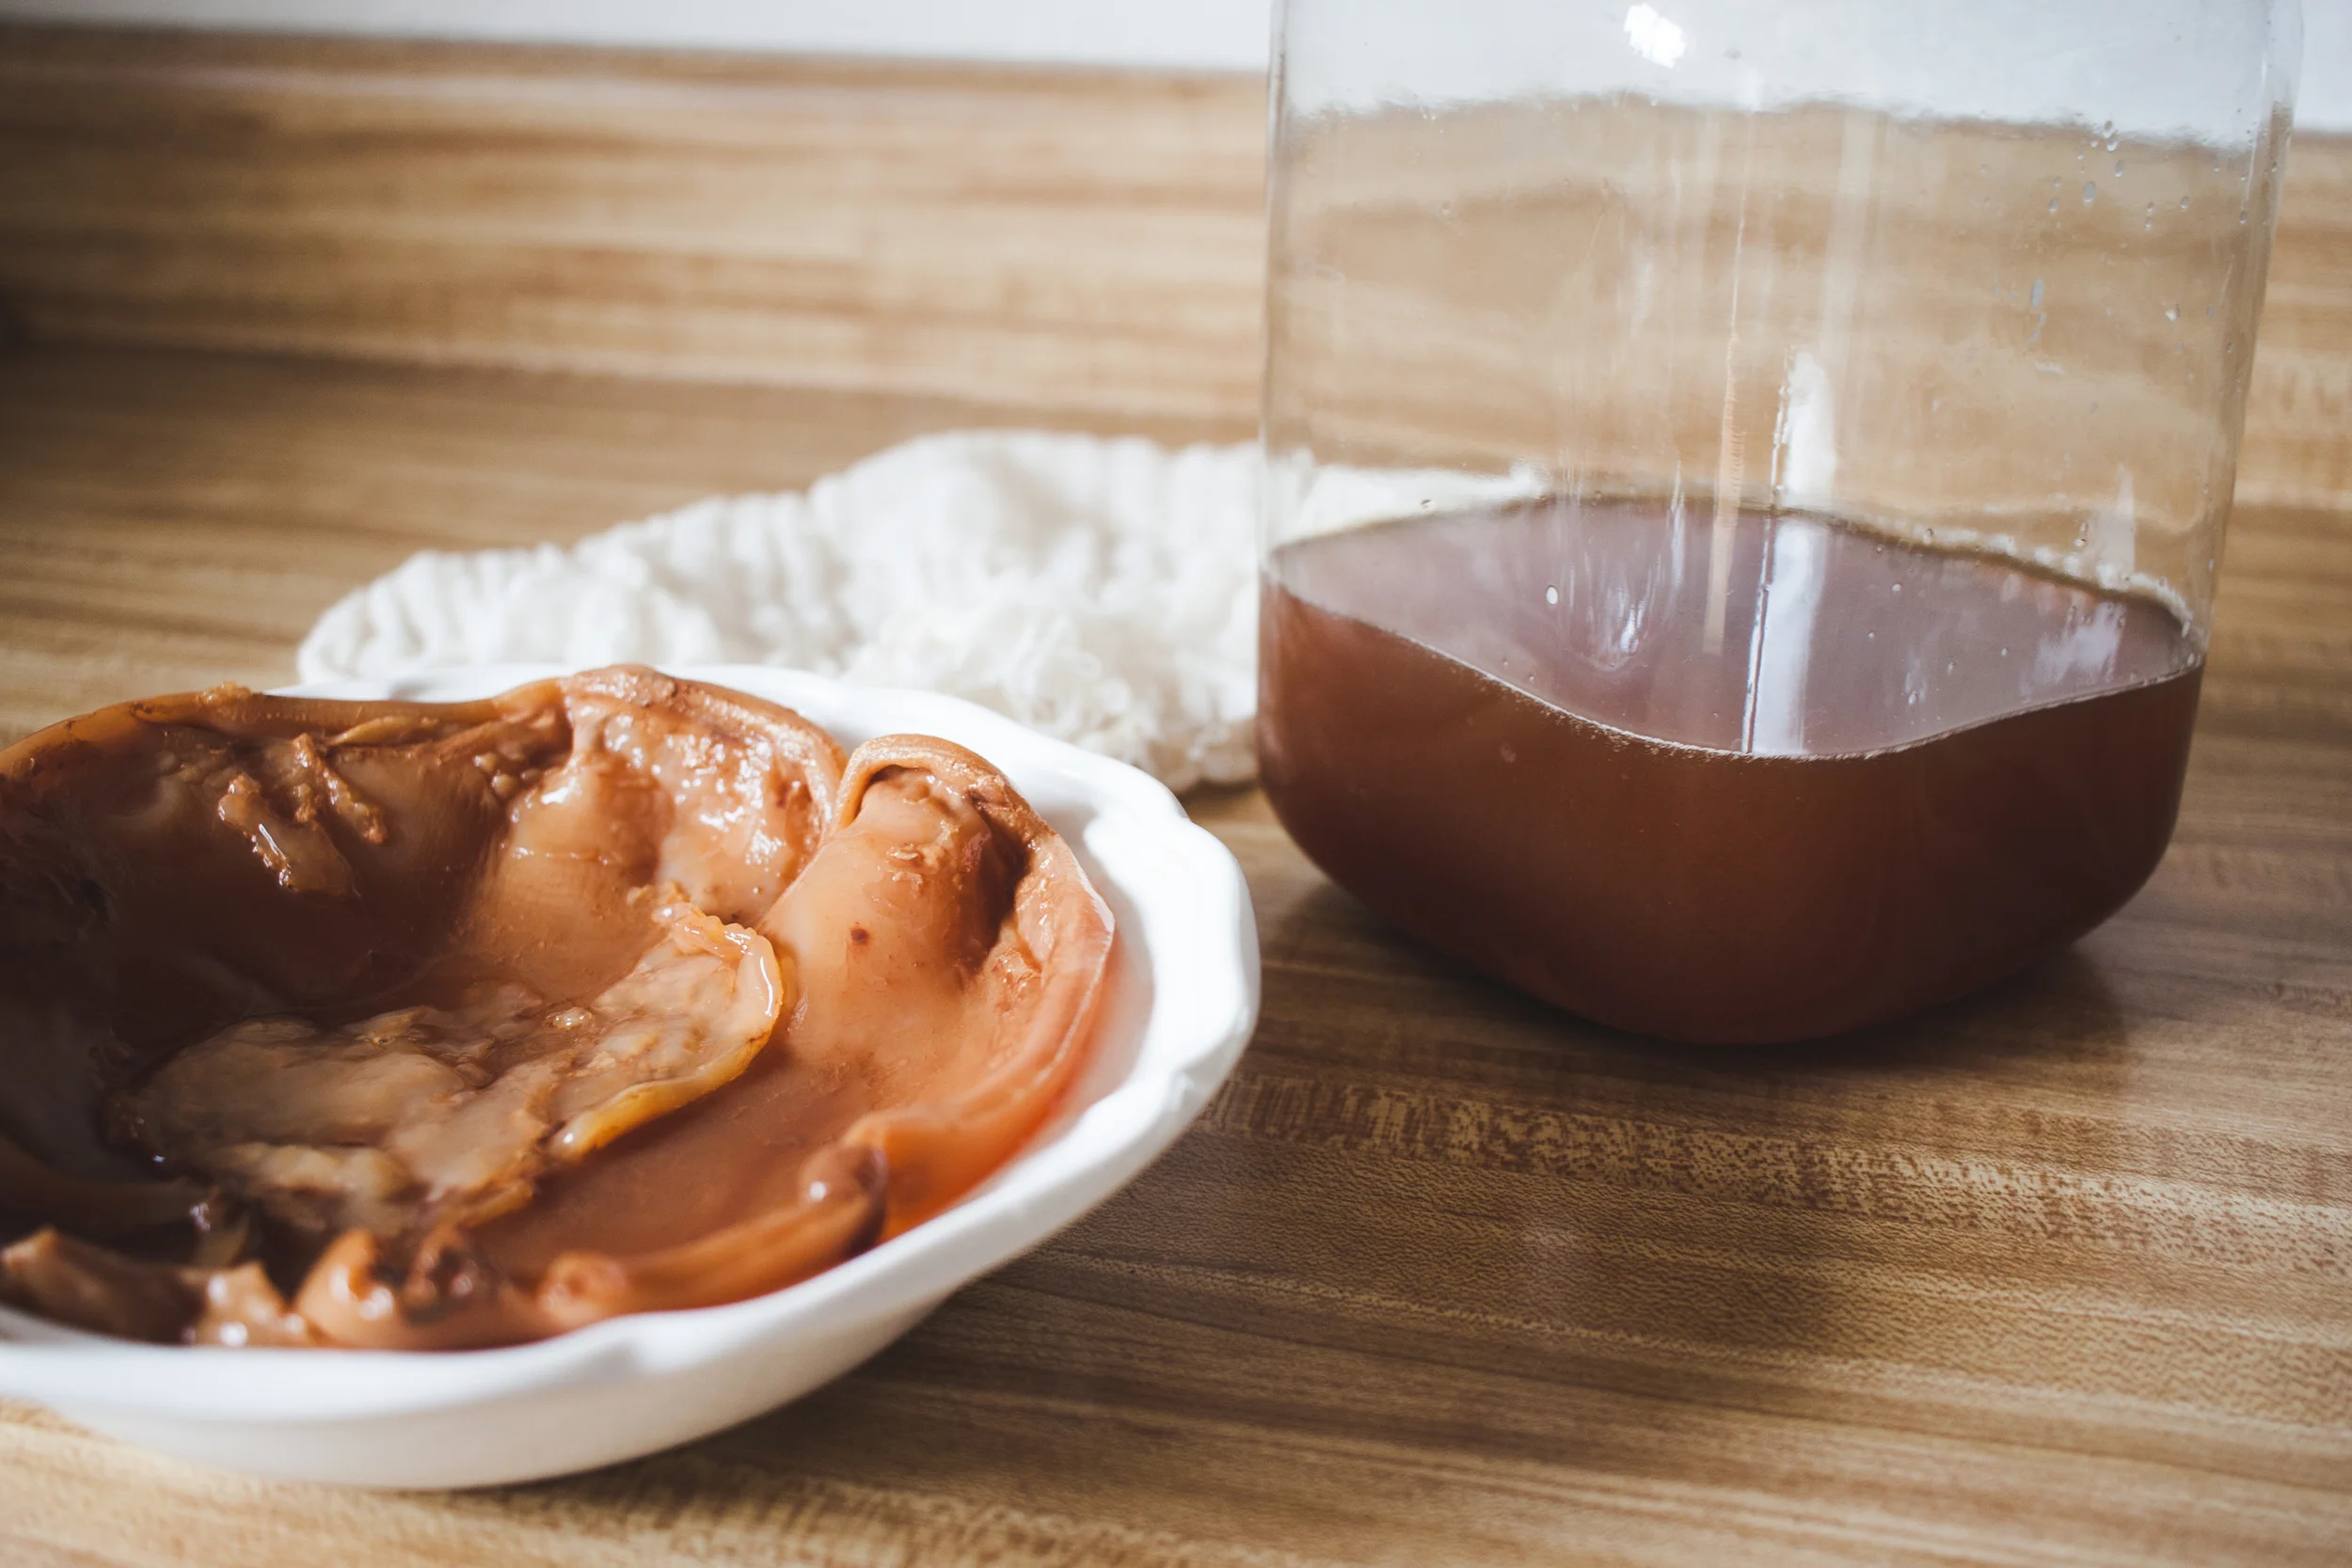
- With very clean hands, gently place the scoby at the top of the jar of tea. It should float, but if it doesn't, let it fall (it's okay) just don't stick your hands in the tea!
- Cover the jar with the cheese cloth, rubber band tightly
- Put the jar in a warm (around 70-75 degrees is best) dark corner of the house away from any other fermenting products.
- Let sit to ferment for about 7-10 days. The length of time will vary depending on your climate.
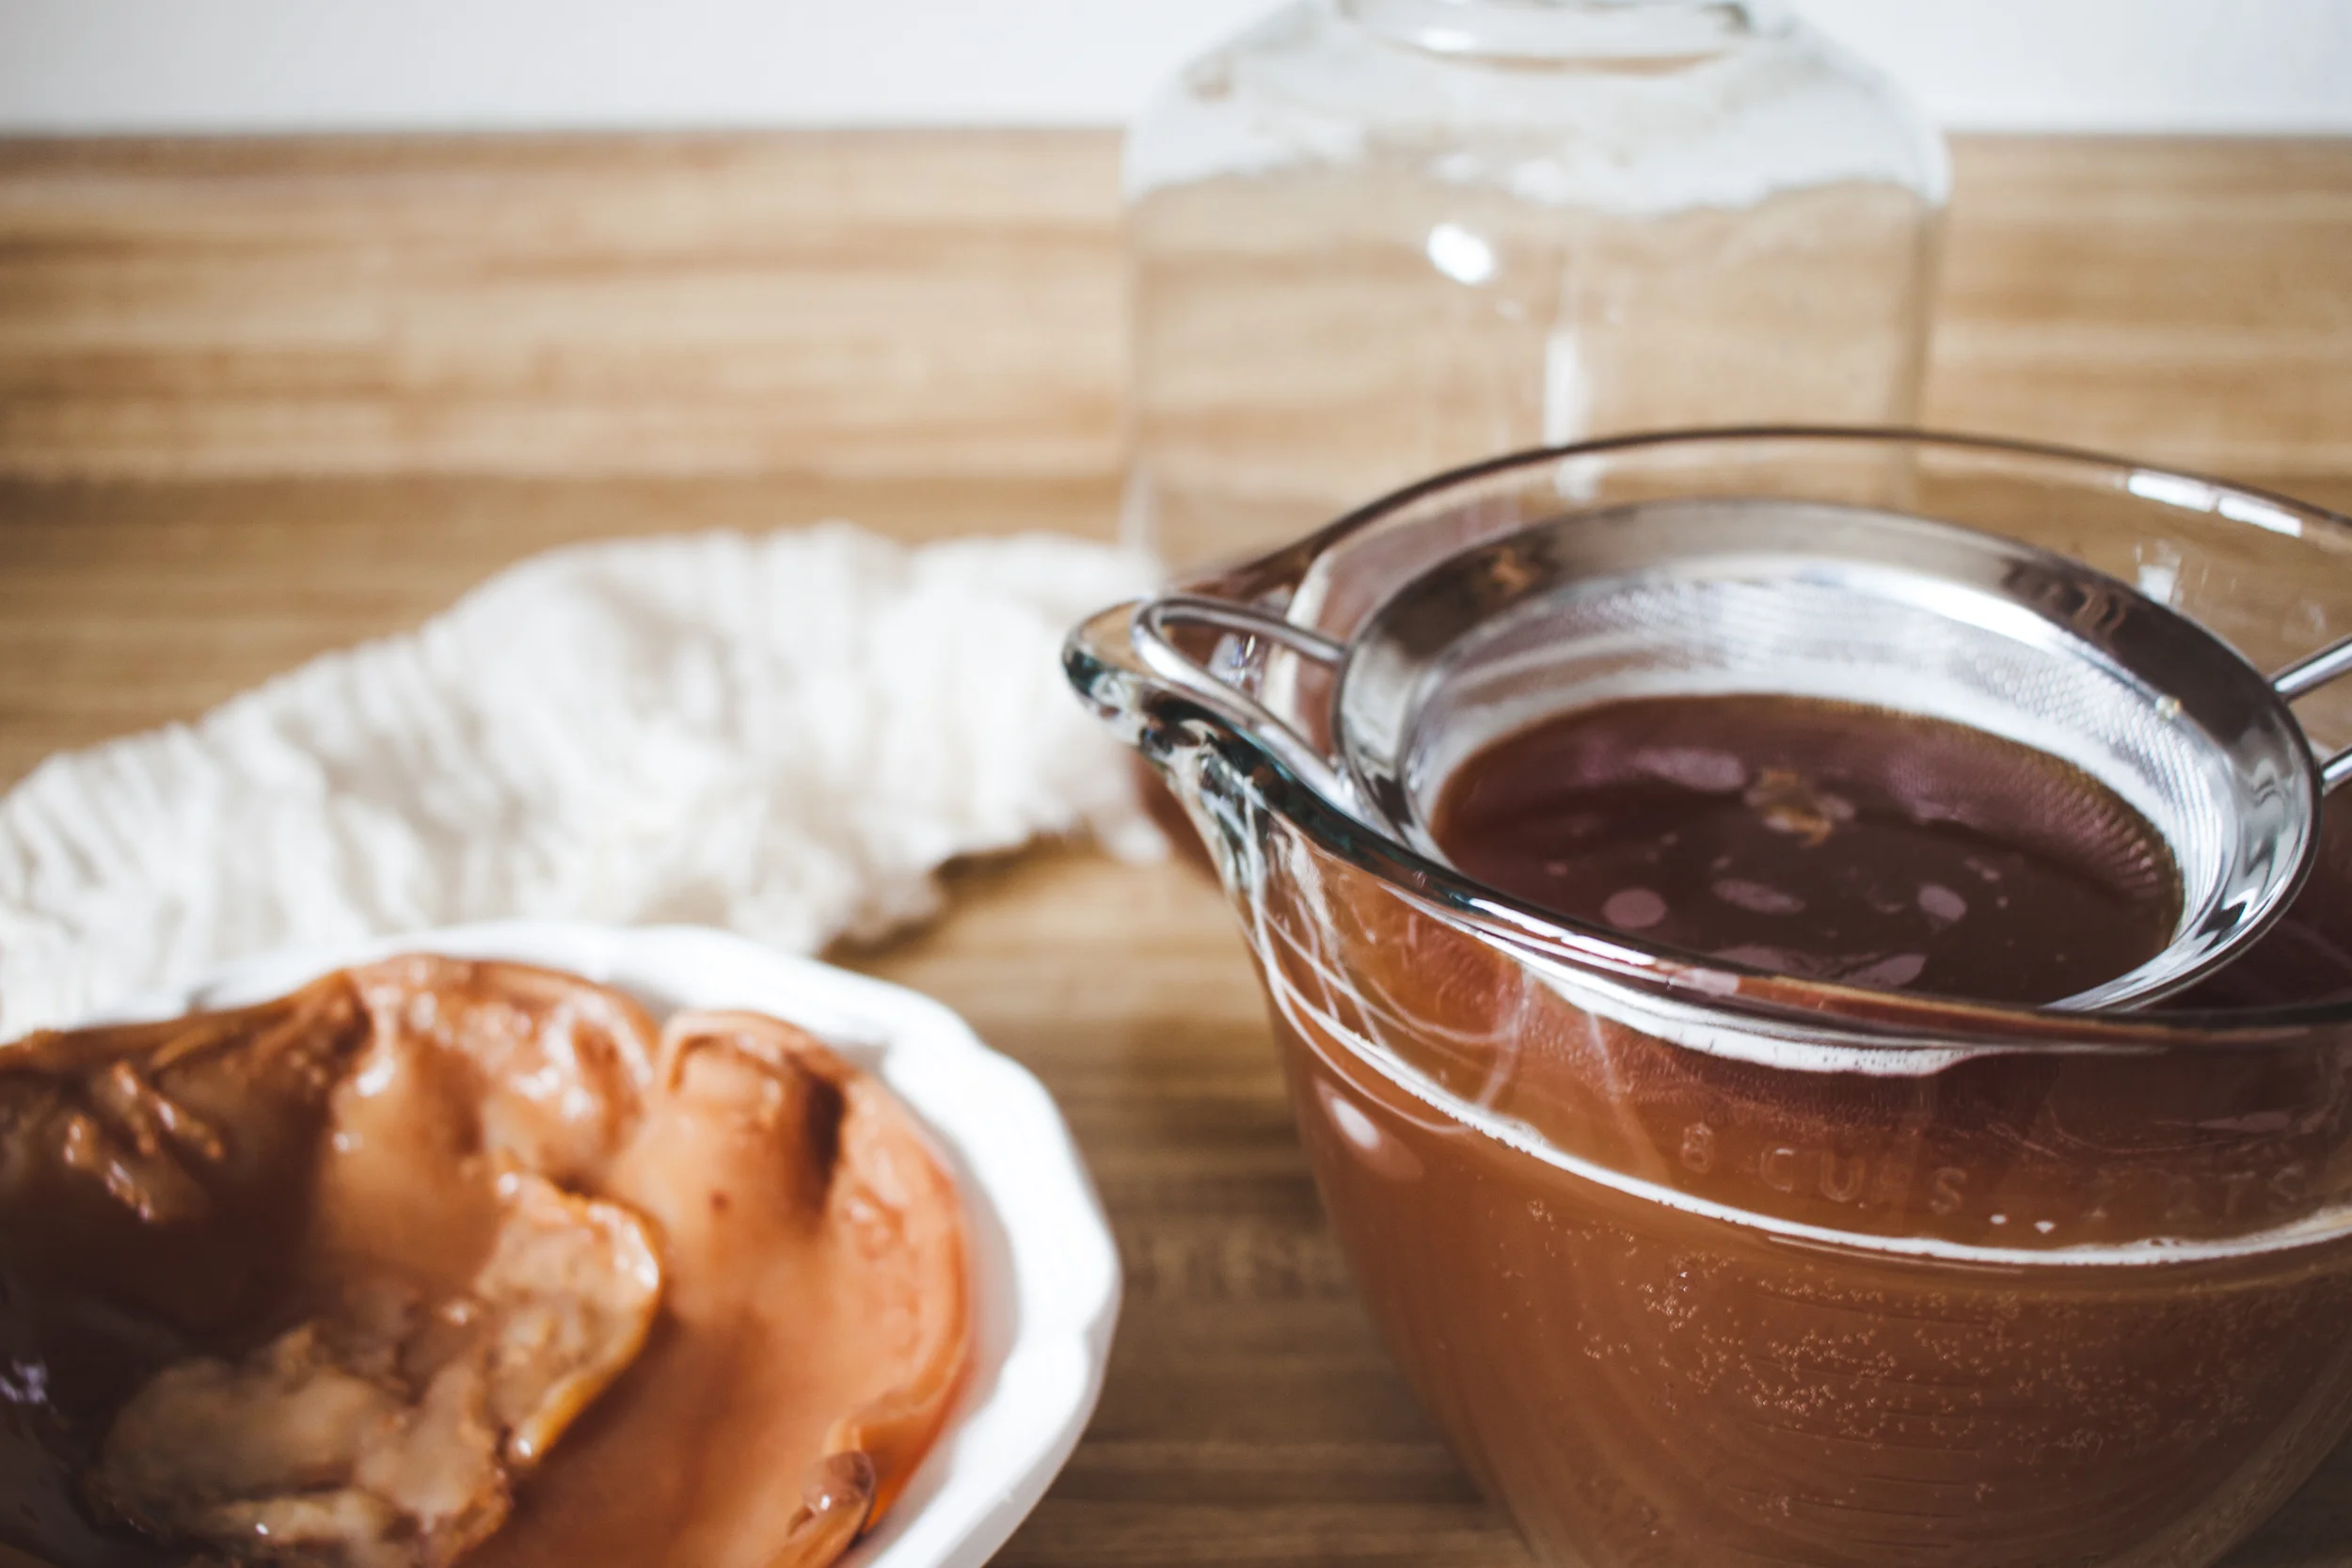
- After 7 days are up, test the kombucha. (I dipped a clean ladle in to take a sip) It should taste tart, but still slightly sweet.
- At this point, the kombucha is ready for a second ferment.
Click here for even more precise instructions on the brewing process.
A few helpful tips:
- If you plan on doing a second fermentation process (to add additional flavor and carbonation), I recommend you choose a recipe in advance. This may affect the type of tea you need to brew for the first fermentation. I chose a ginger kombucha recipe!
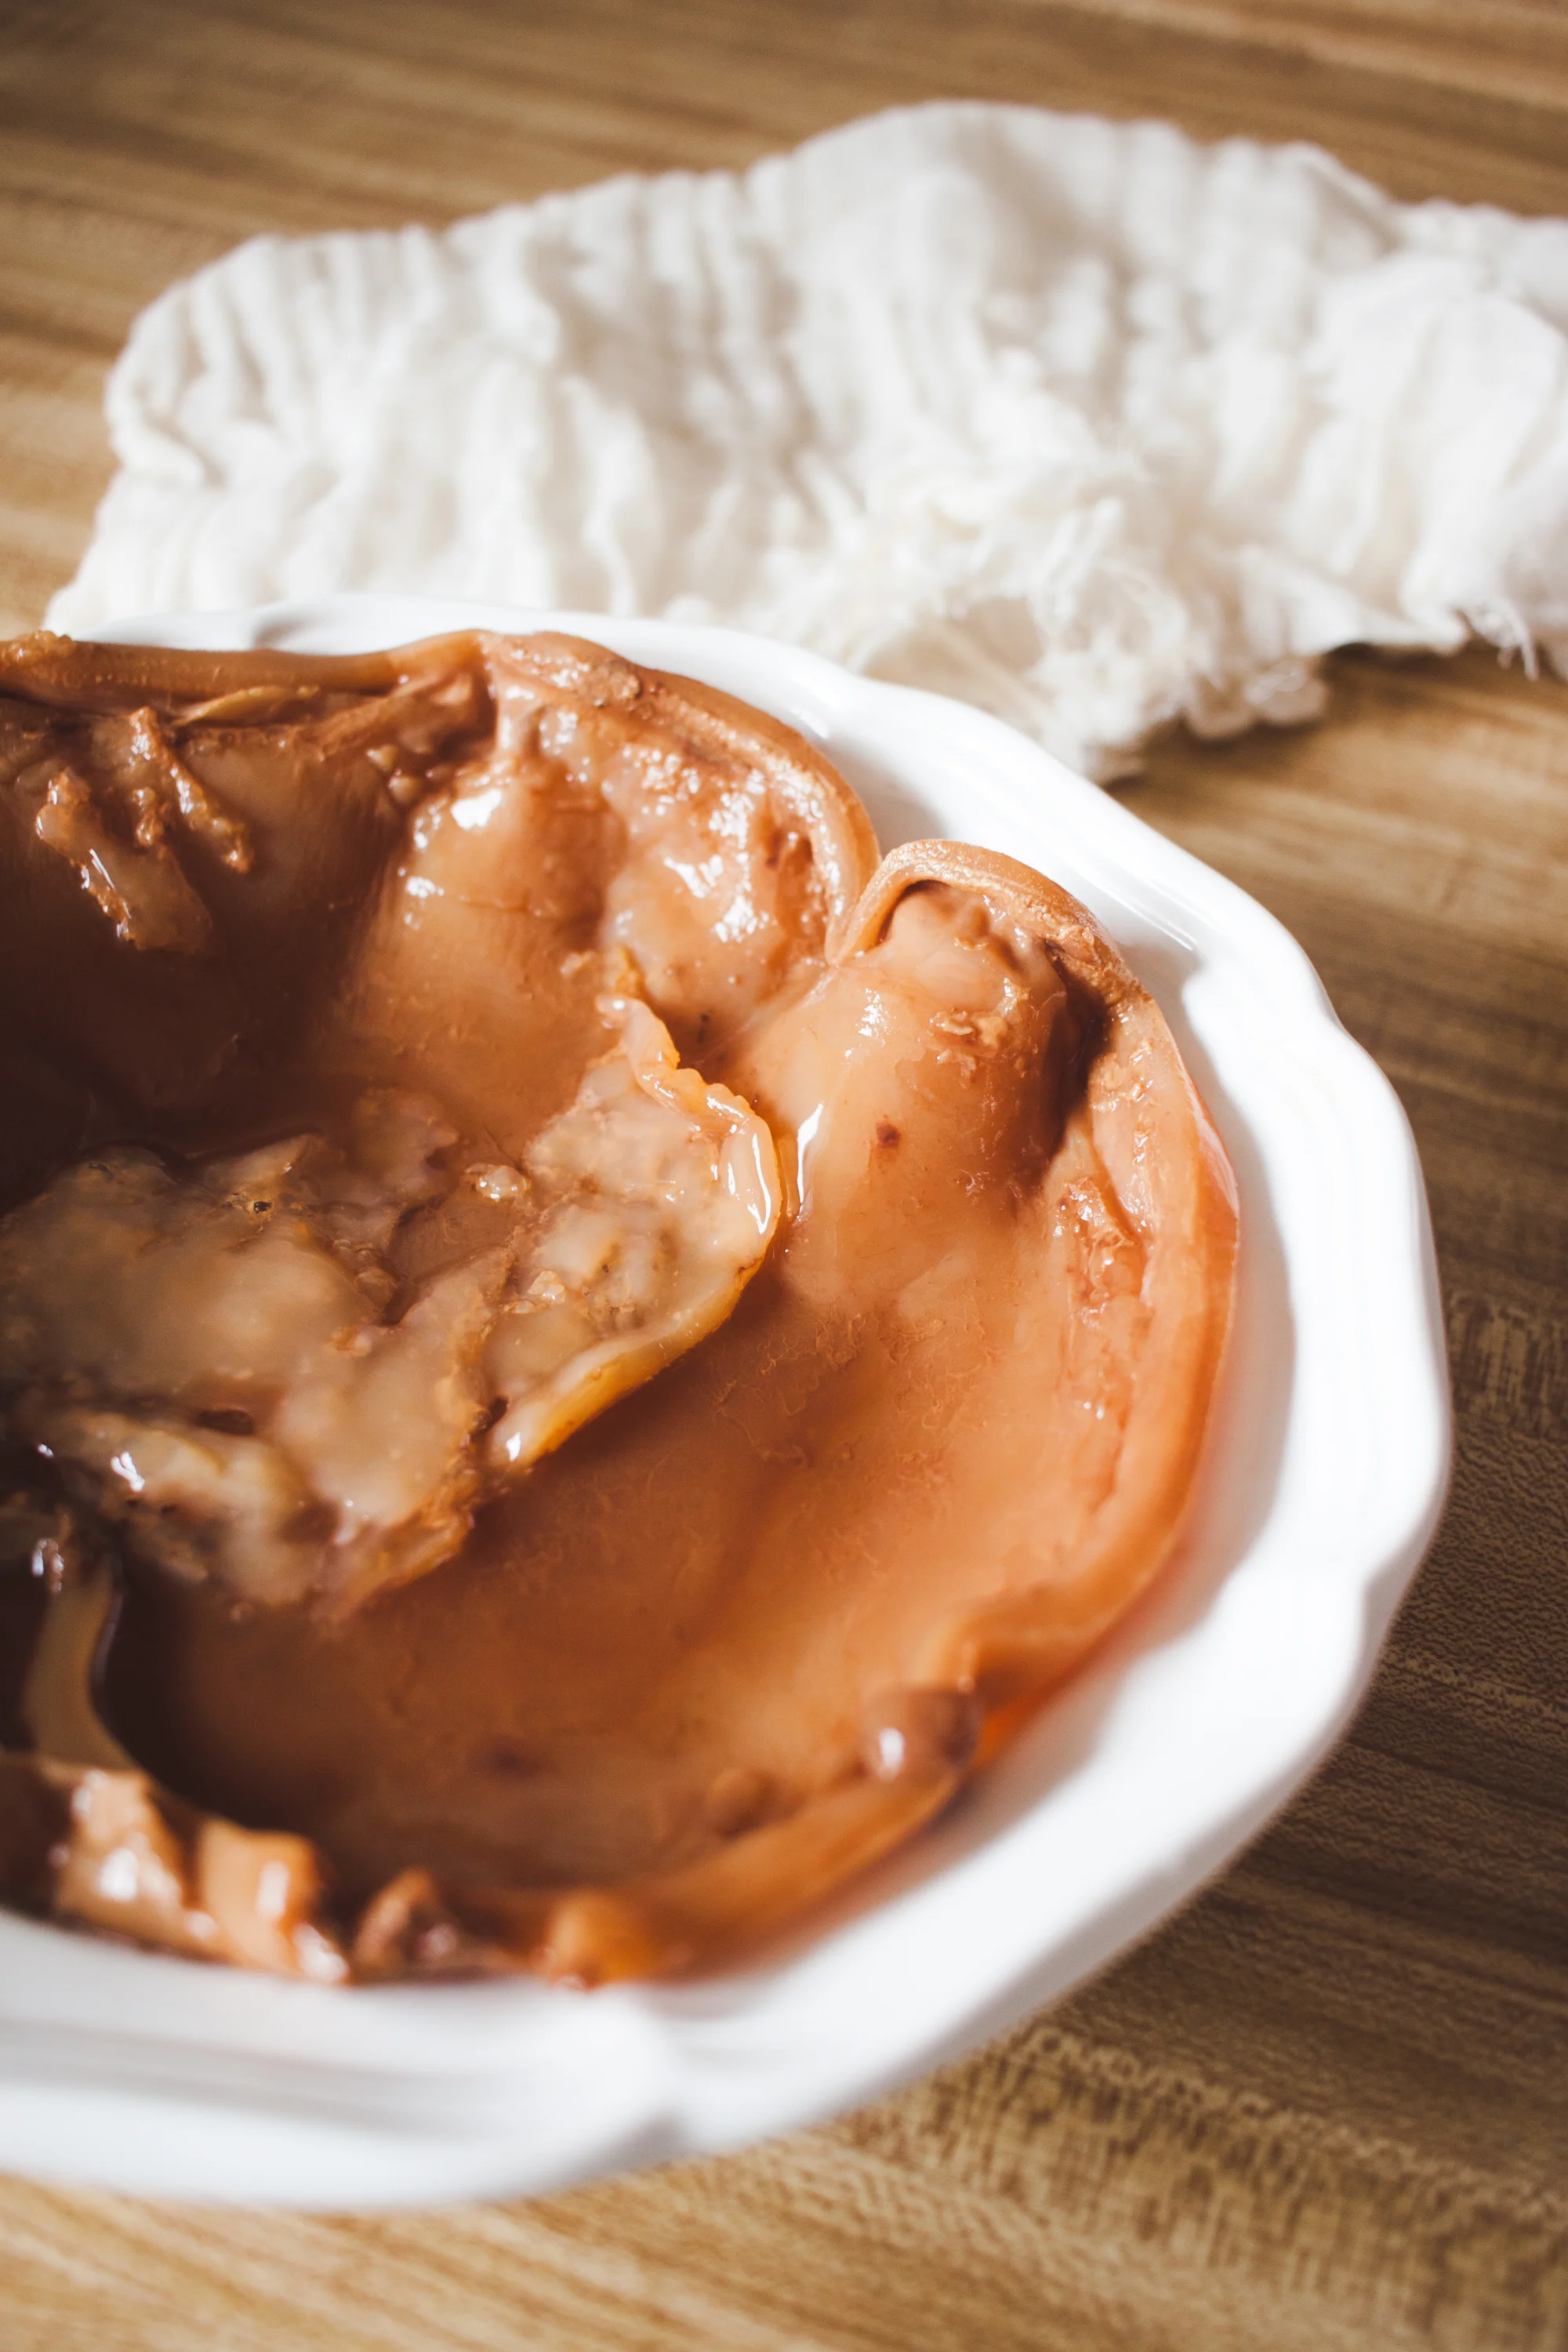
- If a thin jelly layer begins to form on the top of your kombucha, don't panic, this is normal, and a sign that the fermentation is progressing properly. This thin layer is called the scoby baby.
- You can place the scoby baby on top of the mama in your next brand-new batch of kombucha.
- Always handle the scoby with clean hands!
- To answer any questions during the process please go here for clarification.
Happy Brewing!
